Using Section LTI
Last updated: July 11, 2026
What is Section LTI?
The ‘Manage Sections’ app (Section LTI) allows a lecturer to assign students to sections within a Canvas course. Sections allow students to be organised into different groups within a course at an administrative level. These may, for example, represent classes. For these sections, data such as deadlines can then be managed separately, and assignments can be added. Course content such as pages and files is the same for every section.
Where can I manage the sections?
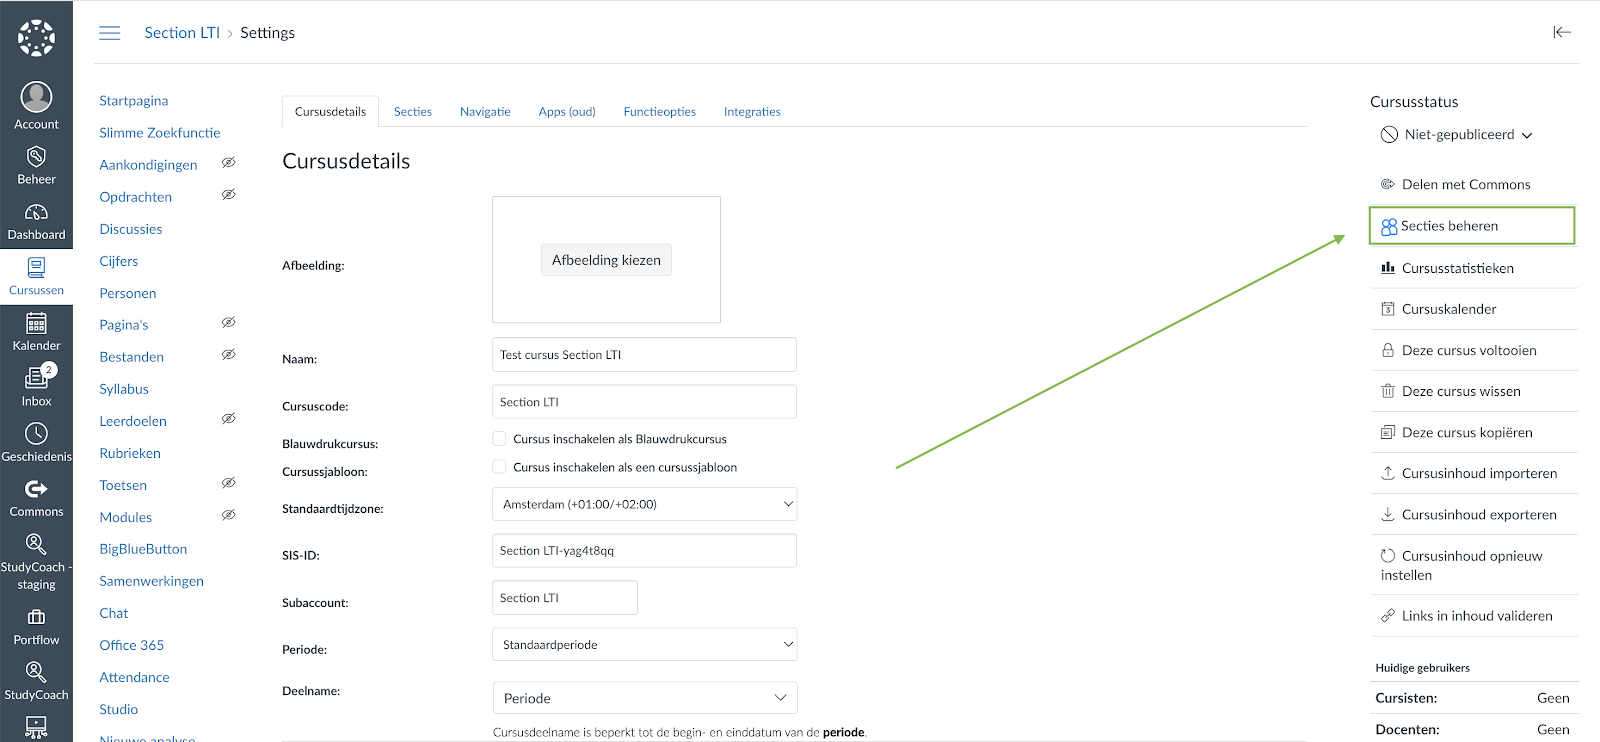
Go to the course > Settings; you’ll find ‘Manage sections’ in the overview at the top right.
How do I create new sections?
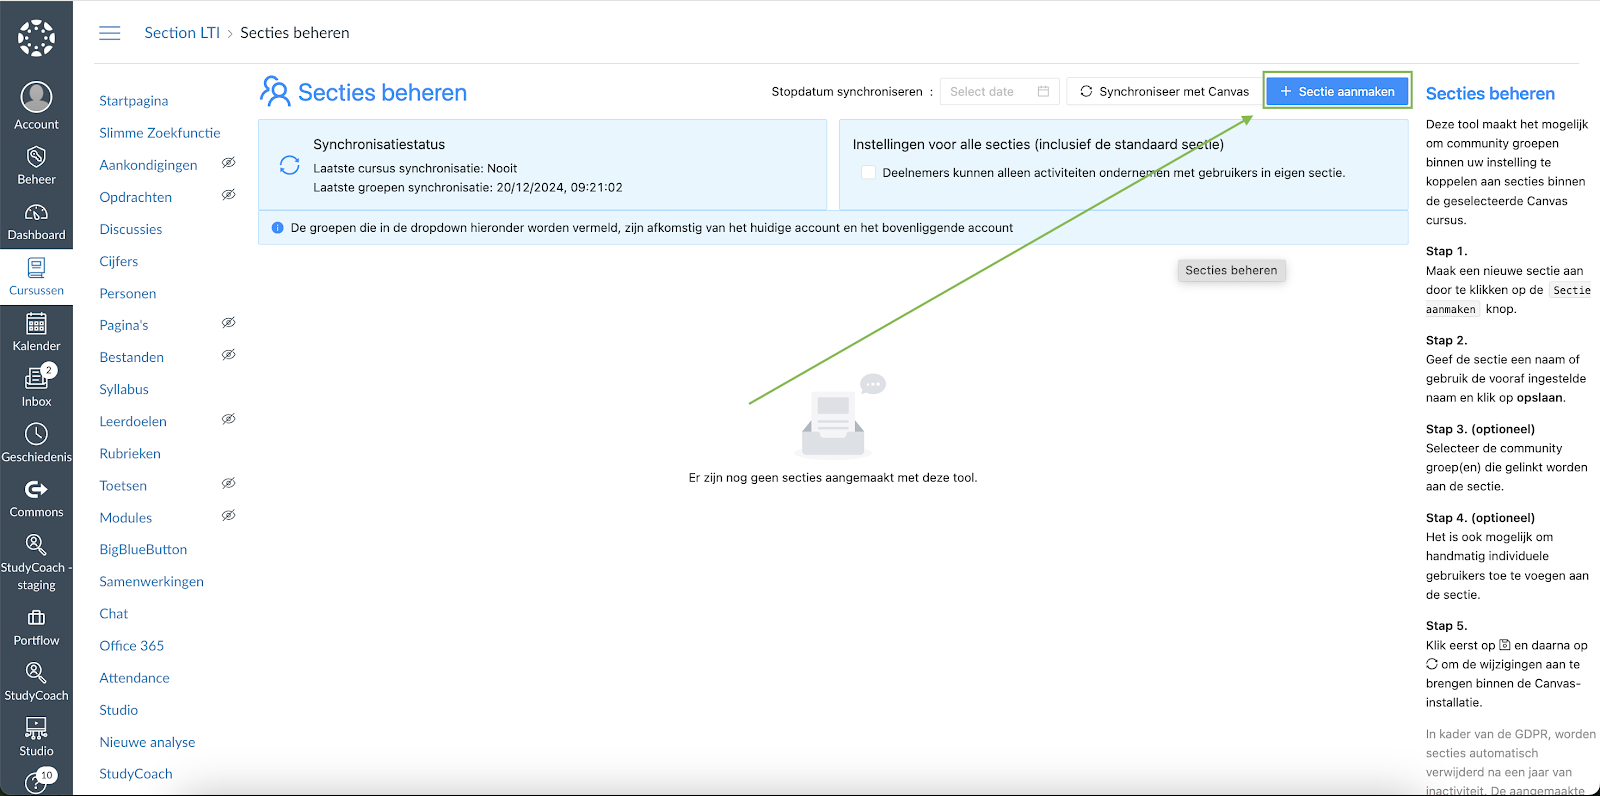
Start by creating one or more sections by clicking the blue ‘+ Create section’ button.
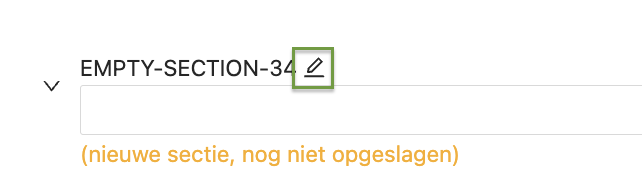
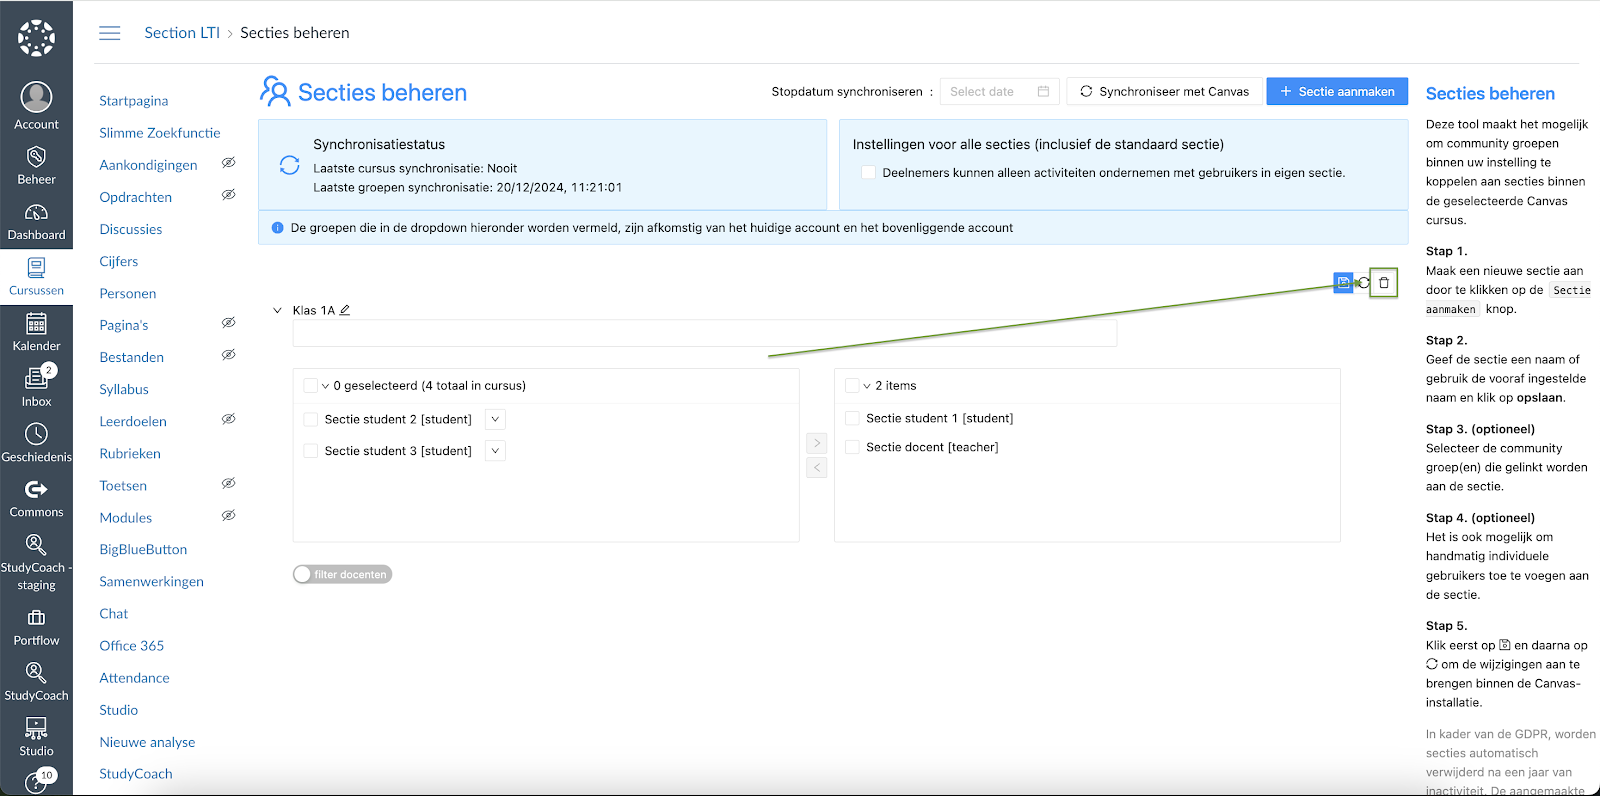
Give the section a name (for example, Class 1A); to do this, click on the pencil icon.
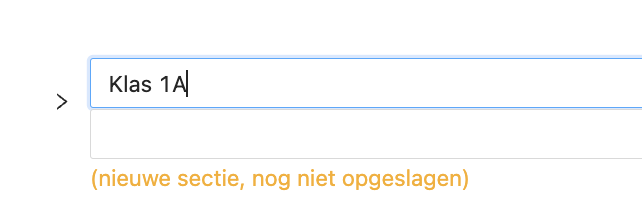
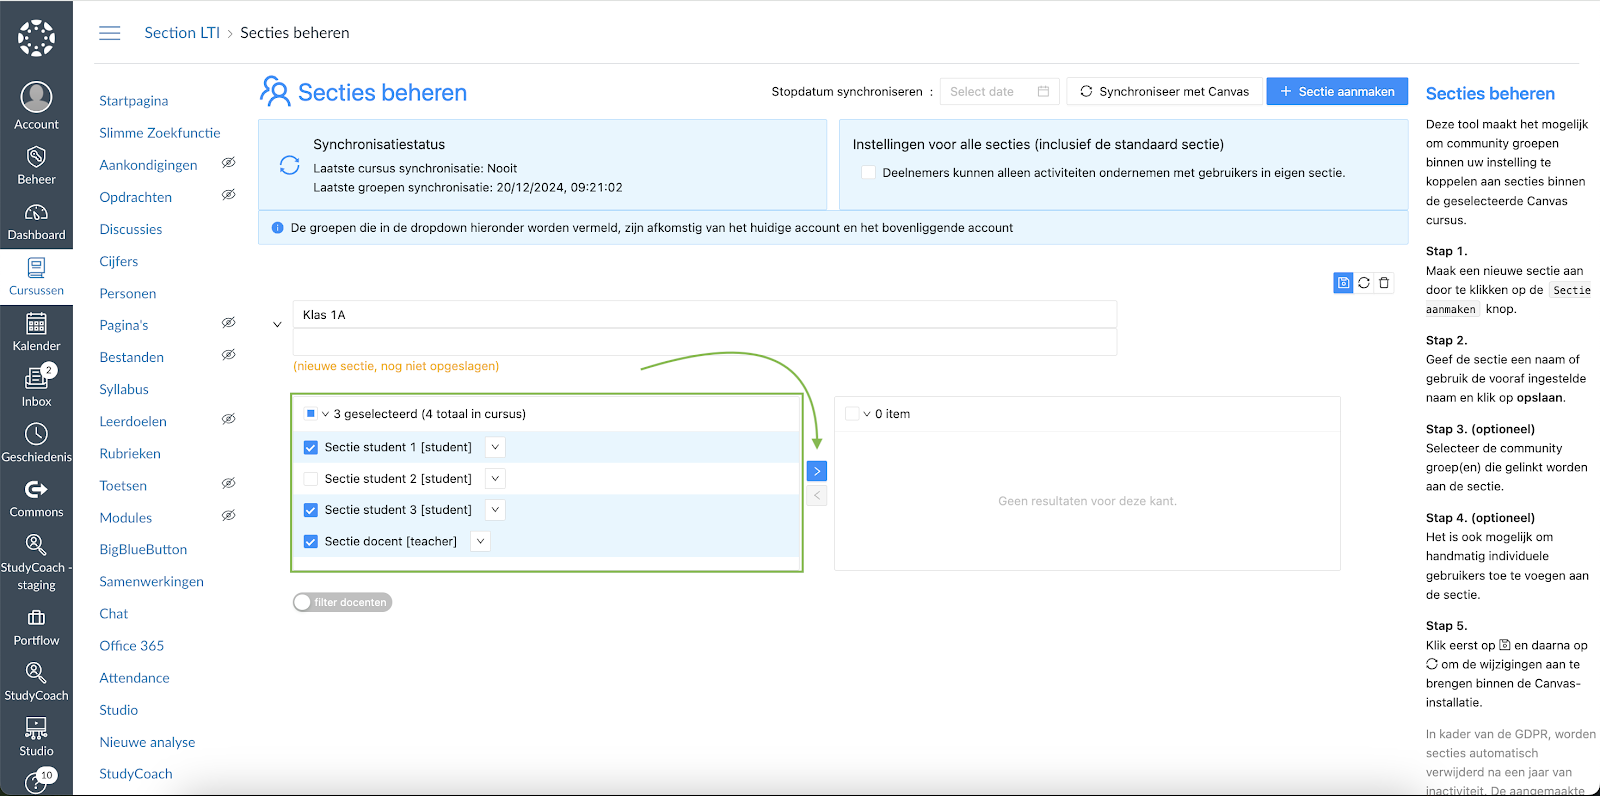
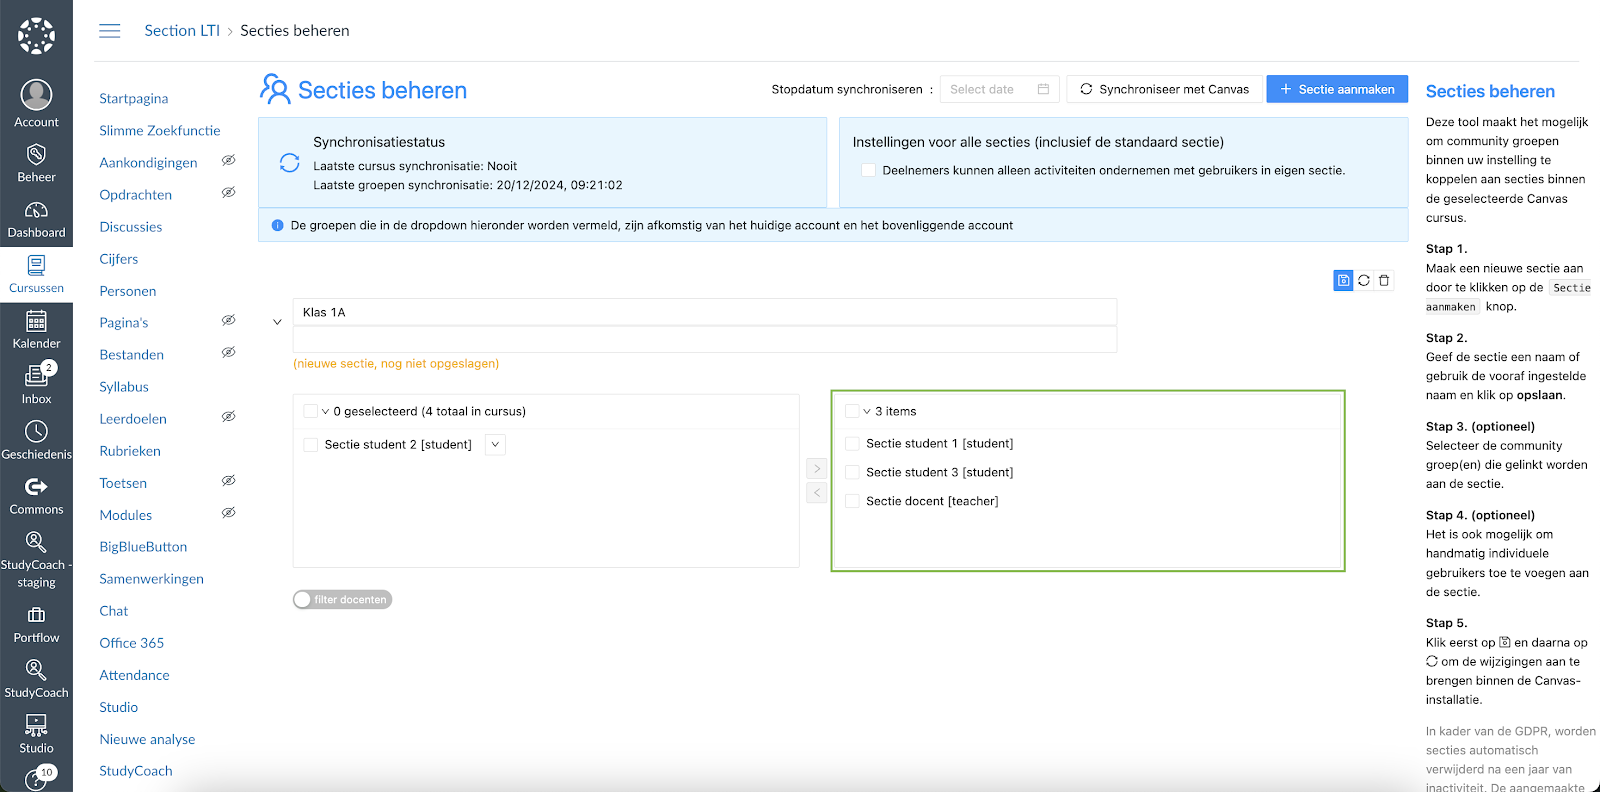
You can then select, within this section, which students (and, if applicable, lecturers) you wish to place in a section.
Use the right-pointing arrow to place them in the section.
Removing users from a section
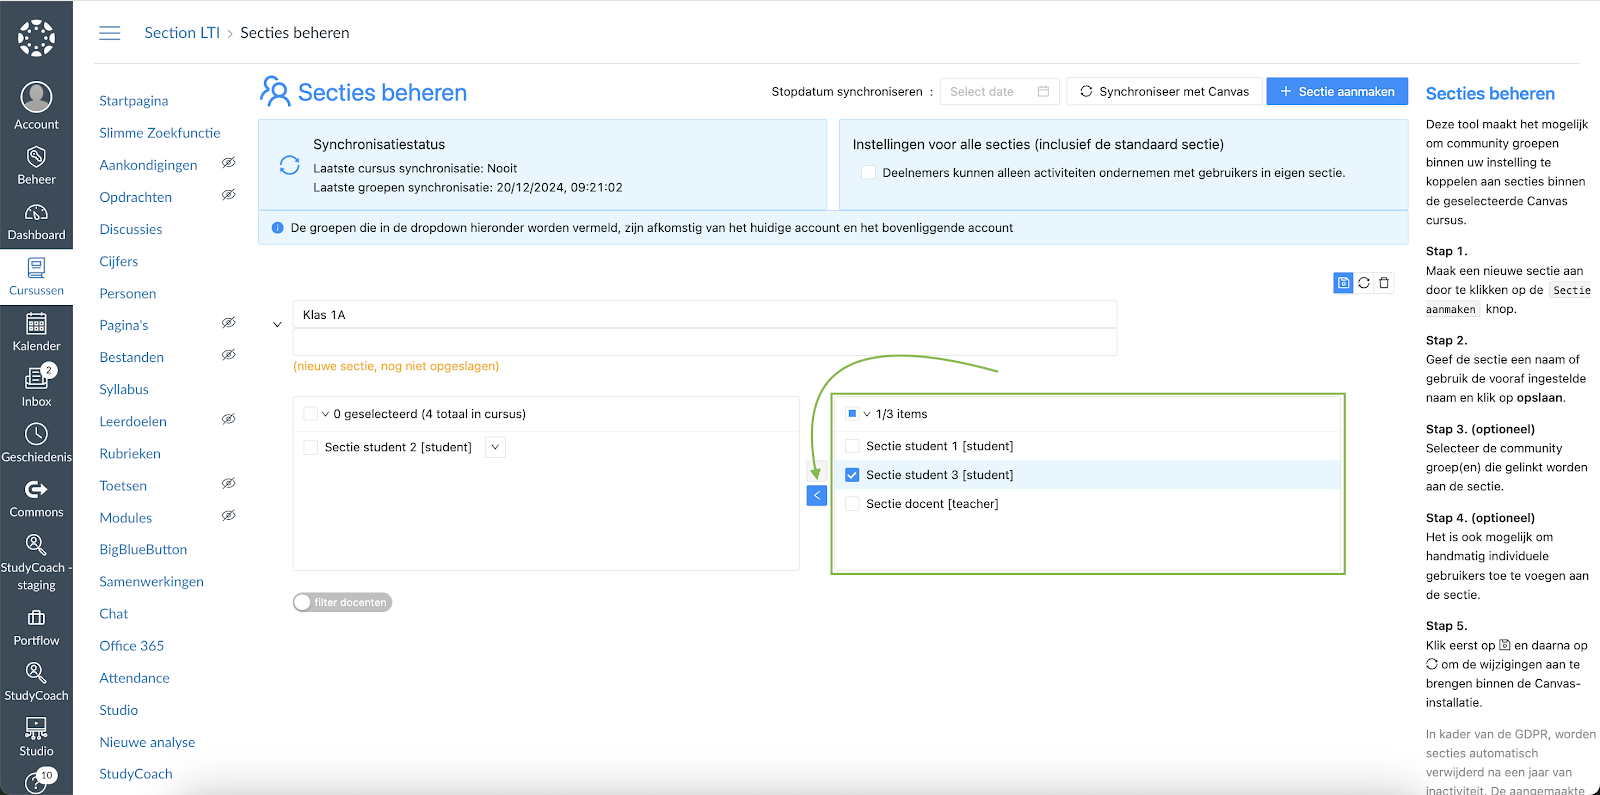
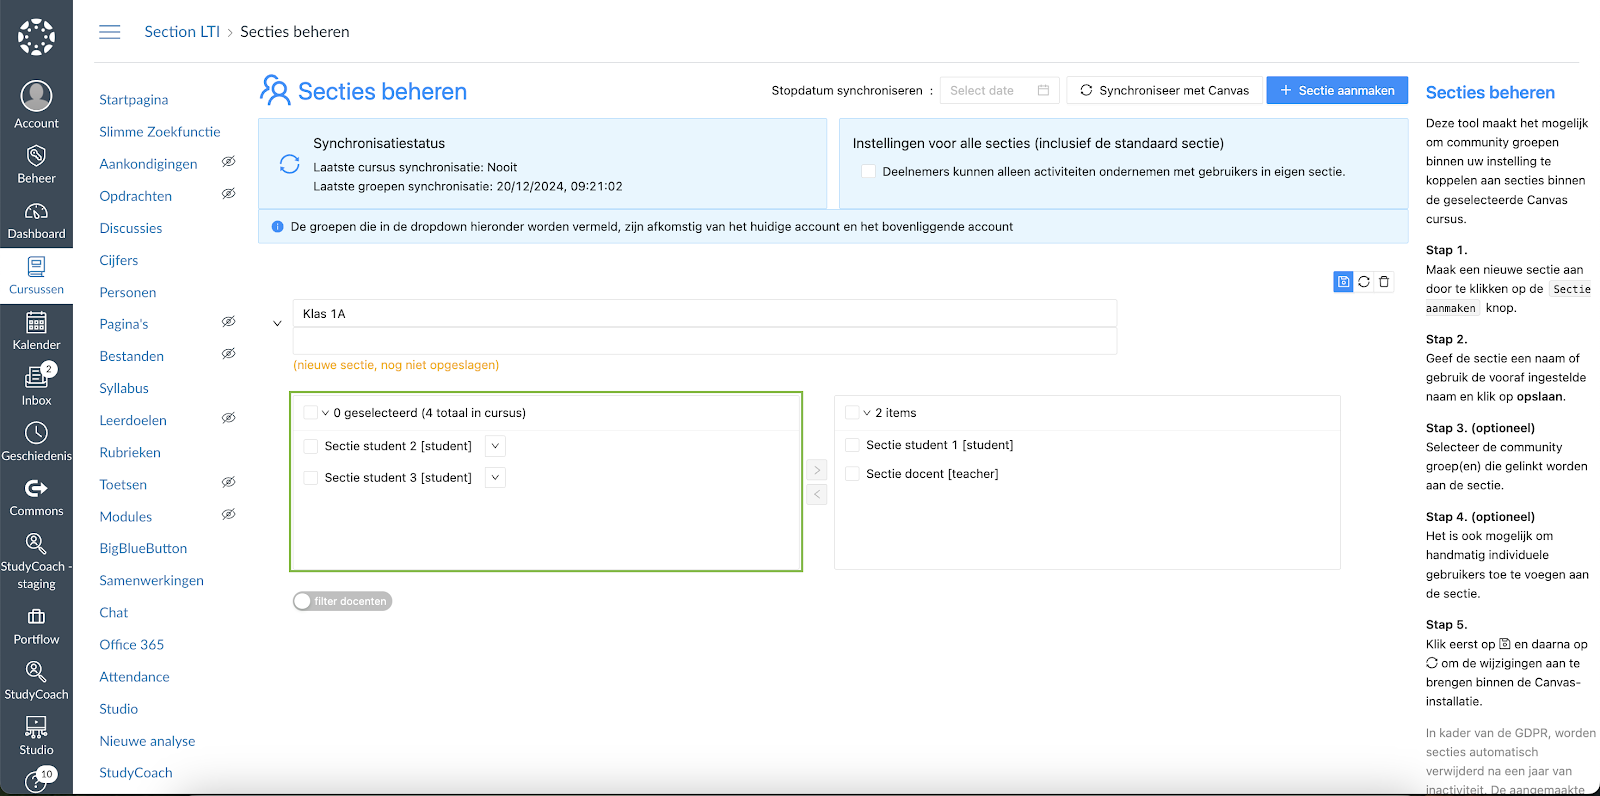
To remove users from a section, you can select them in the right-hand pane and use the left-pointing arrow to remove them from the section.
Restrict users to viewing only other users in a section
In addition, it is possible to separate participants in different sections of the course from one another; this means, amongst other things, that they will not see each other in the list of participants. (This enables the function that you can select for a user in Canvas: ‘Restrict this user to seeing only fellow users of the section’).
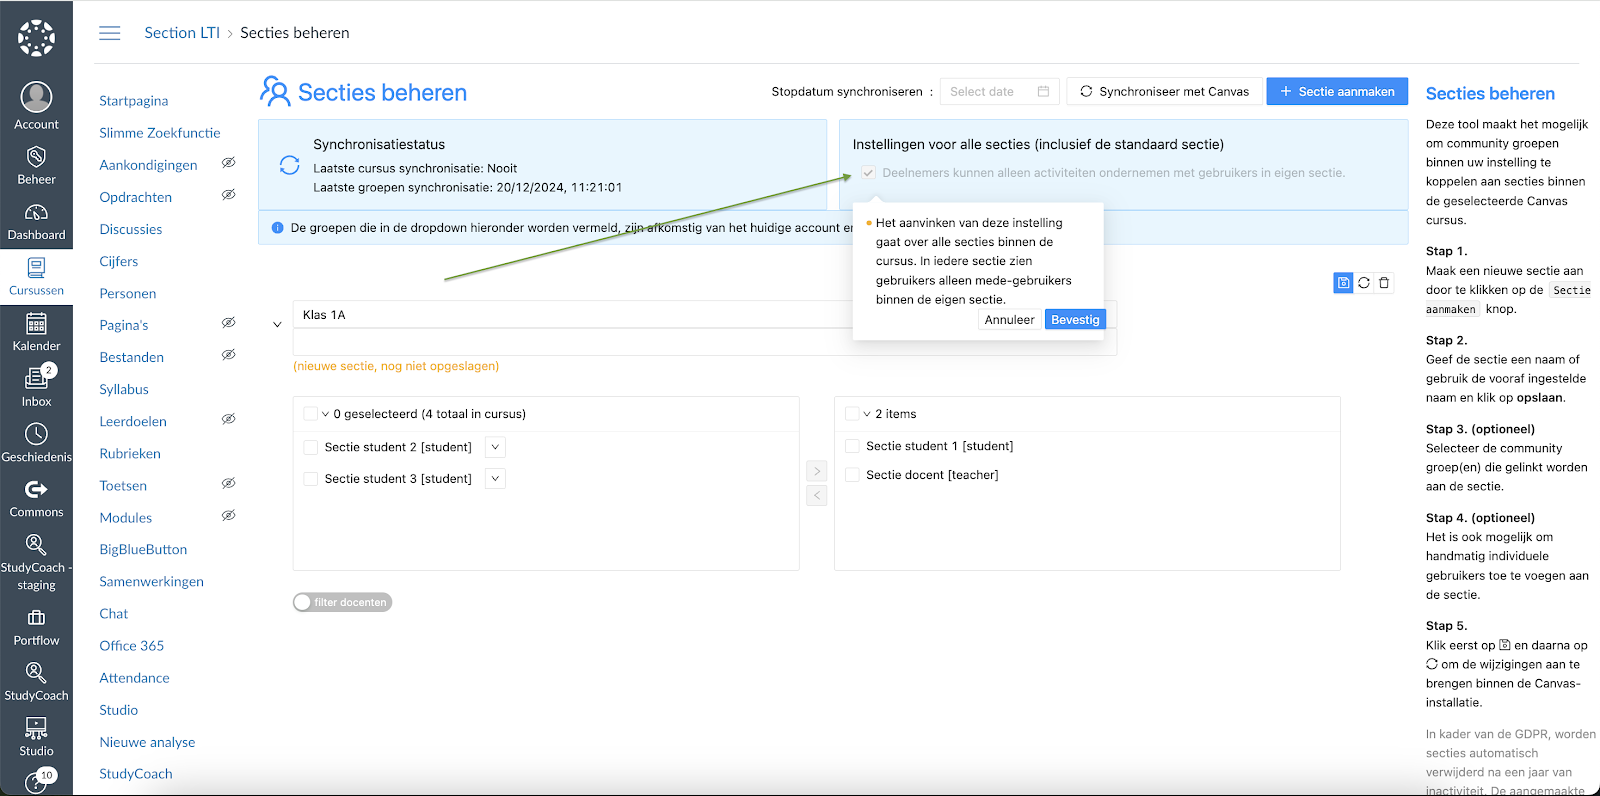
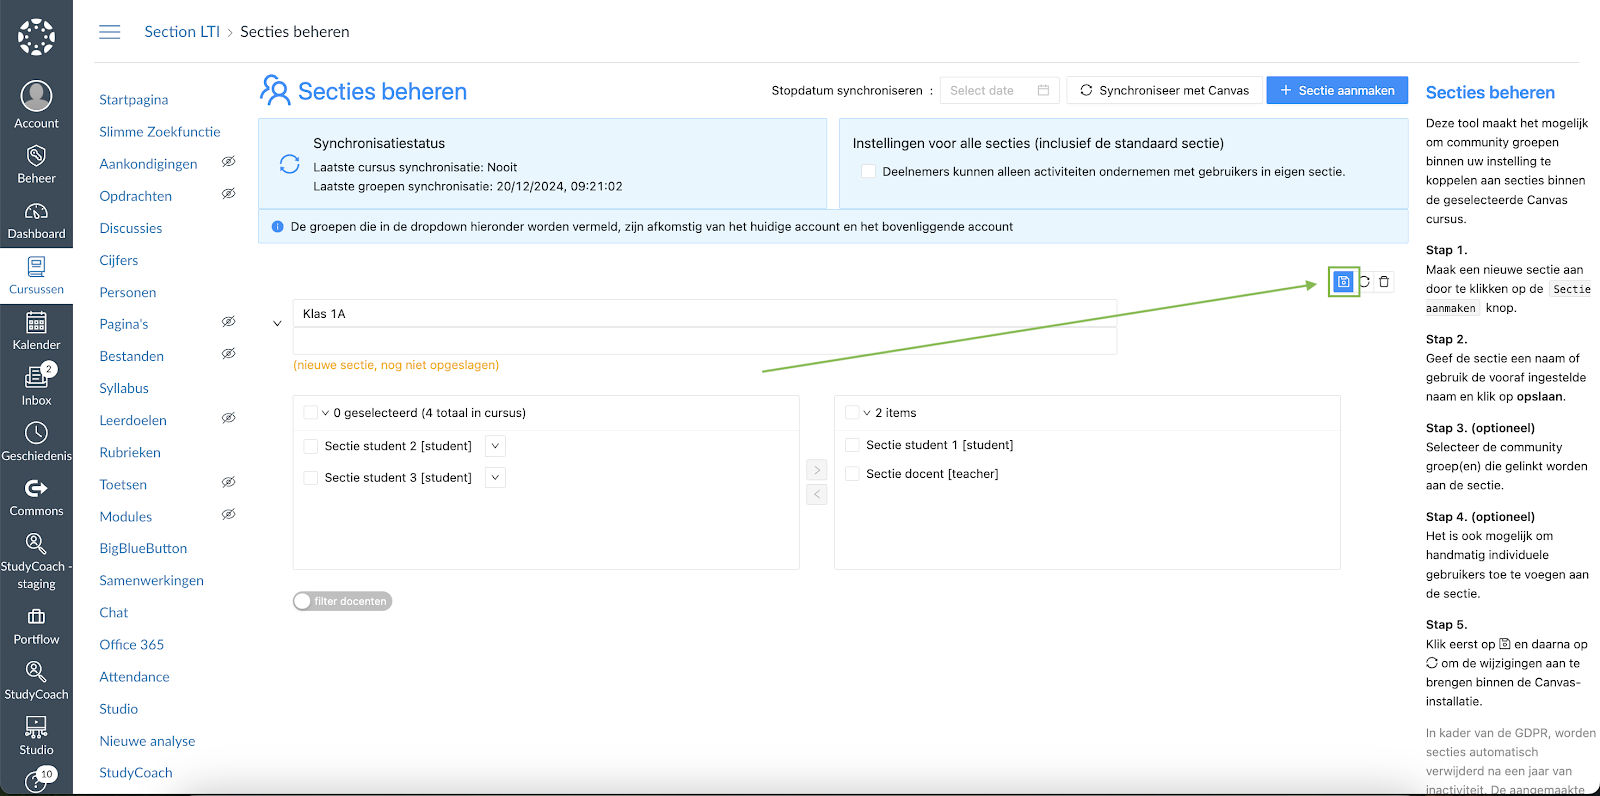
Click ‘Save’ (important! Save first before you synchronise).
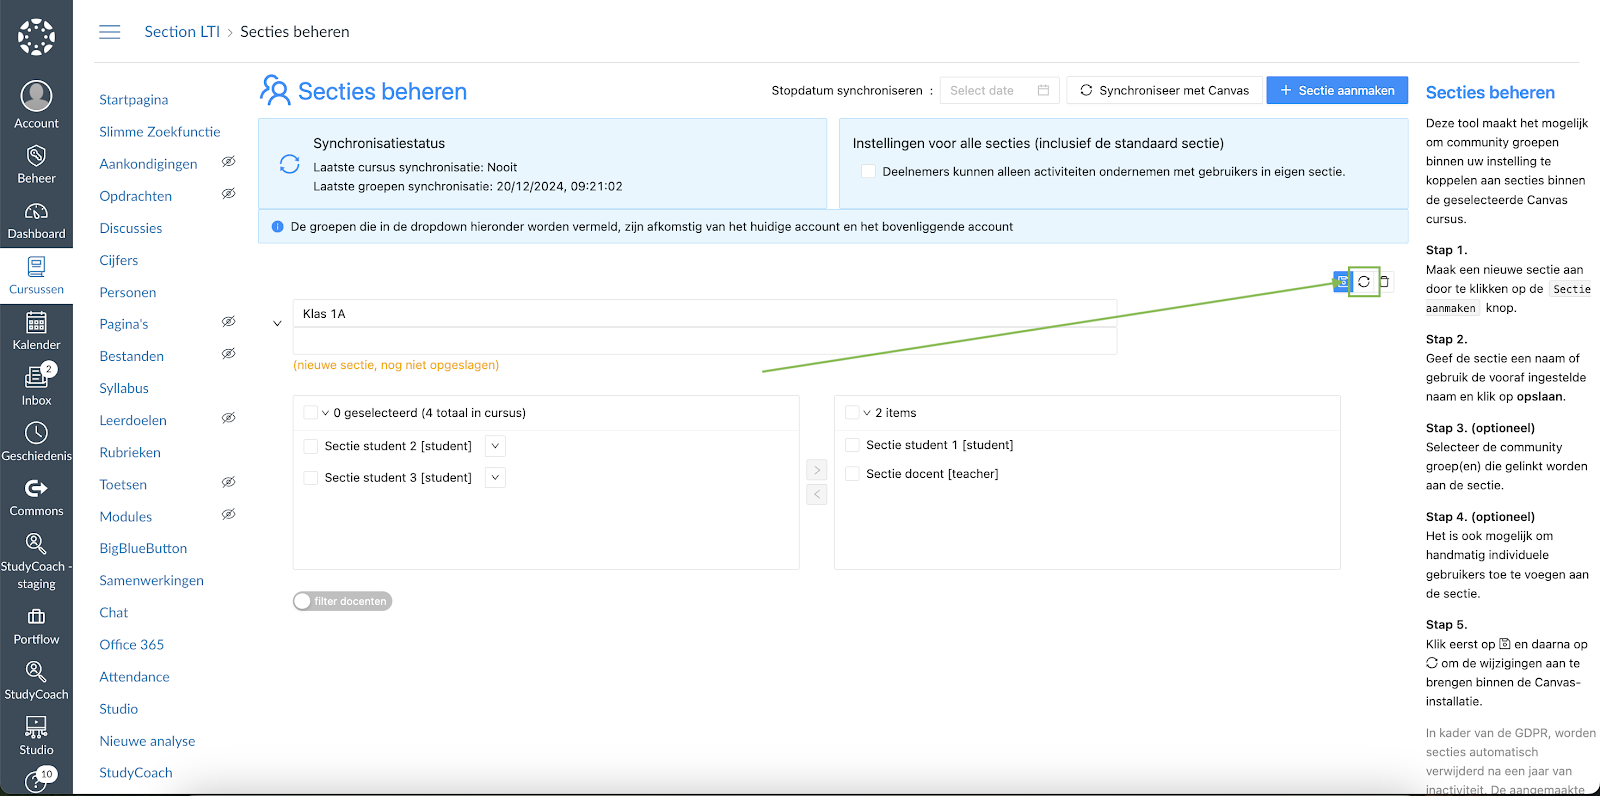
Synchronise section with course
The section can then be synchronised with Canvas.
Deleting a section
A section can be deleted if desired by clicking on the bin icon.
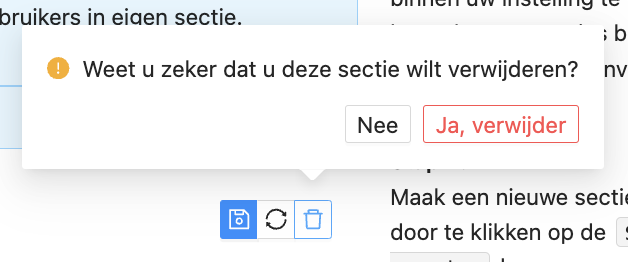
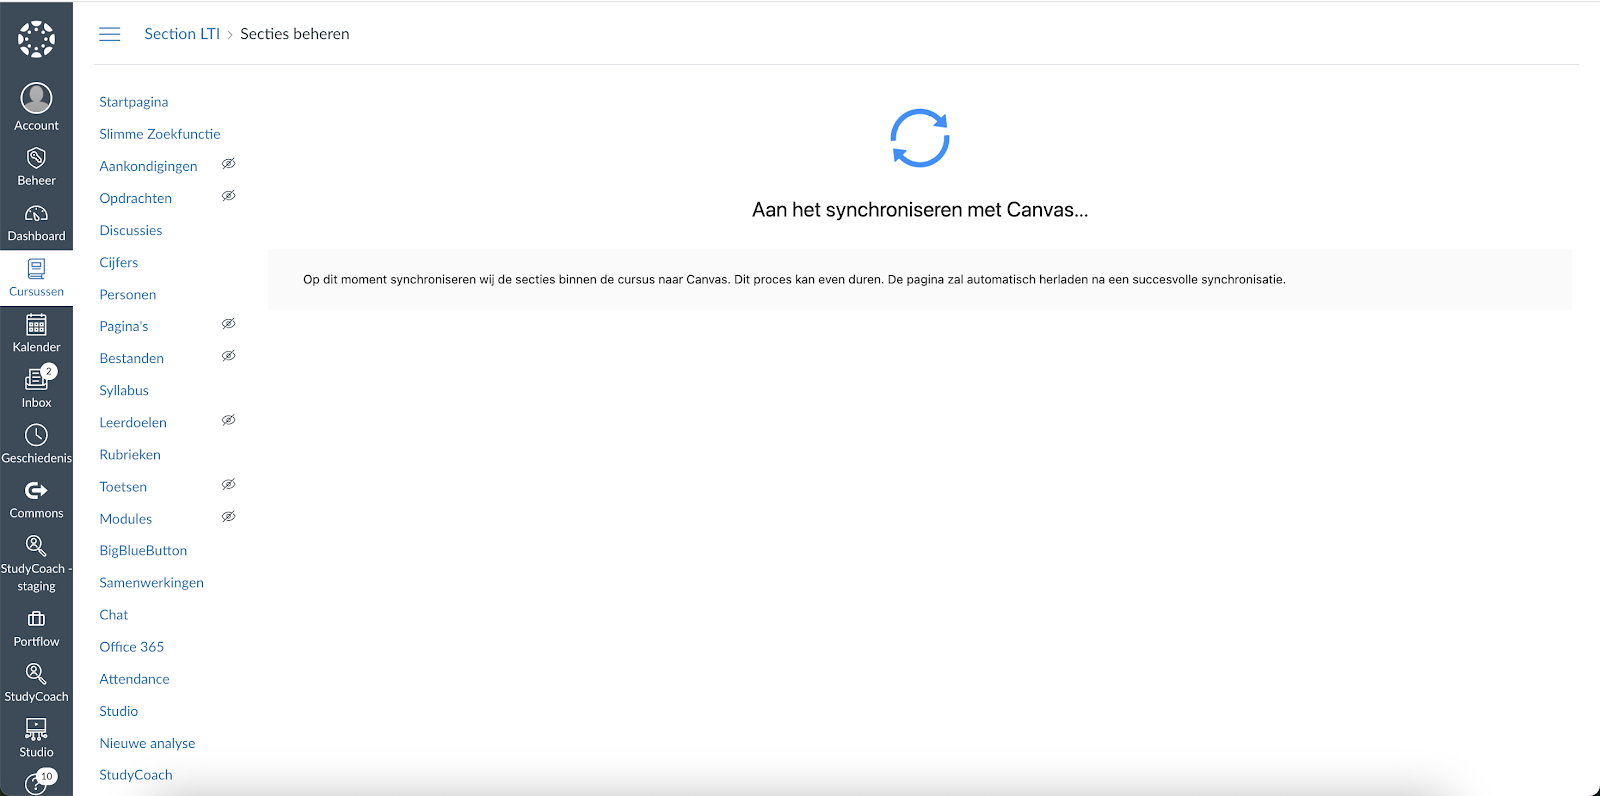
Click on ‘Synchronise with Canvas’; the section will then be removed from the course.
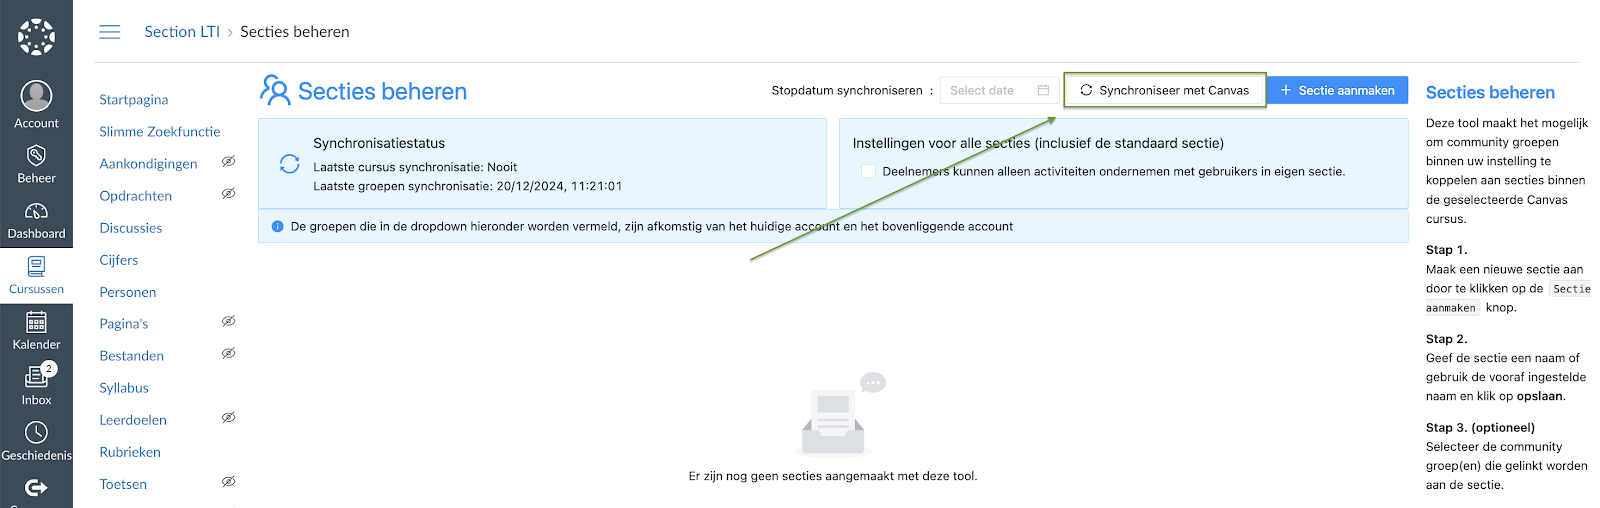
Using account groups (community groups) in conjunction with Section LTI
It is possible to create community groups in Canvas from within a Student Information System (SIS). These groups exist at the top level and do not belong to any course. Using Section LTI, students can be enrolled in courses based on these groups and placed directly into different sections within the course.
To create groups in Canvas, a data link is required; alternatively, a CSV import can be used. With a data link, changes to group enrolment can be automatically synchronised with Canvas; if CSVs are used, this must be done manually and/or via a new CSV import.
You can then search within this section for groups that need to be placed in it (see the examples in the drop-down menu under section 2). The teacher can also be placed in a section. Click ‘Save’.
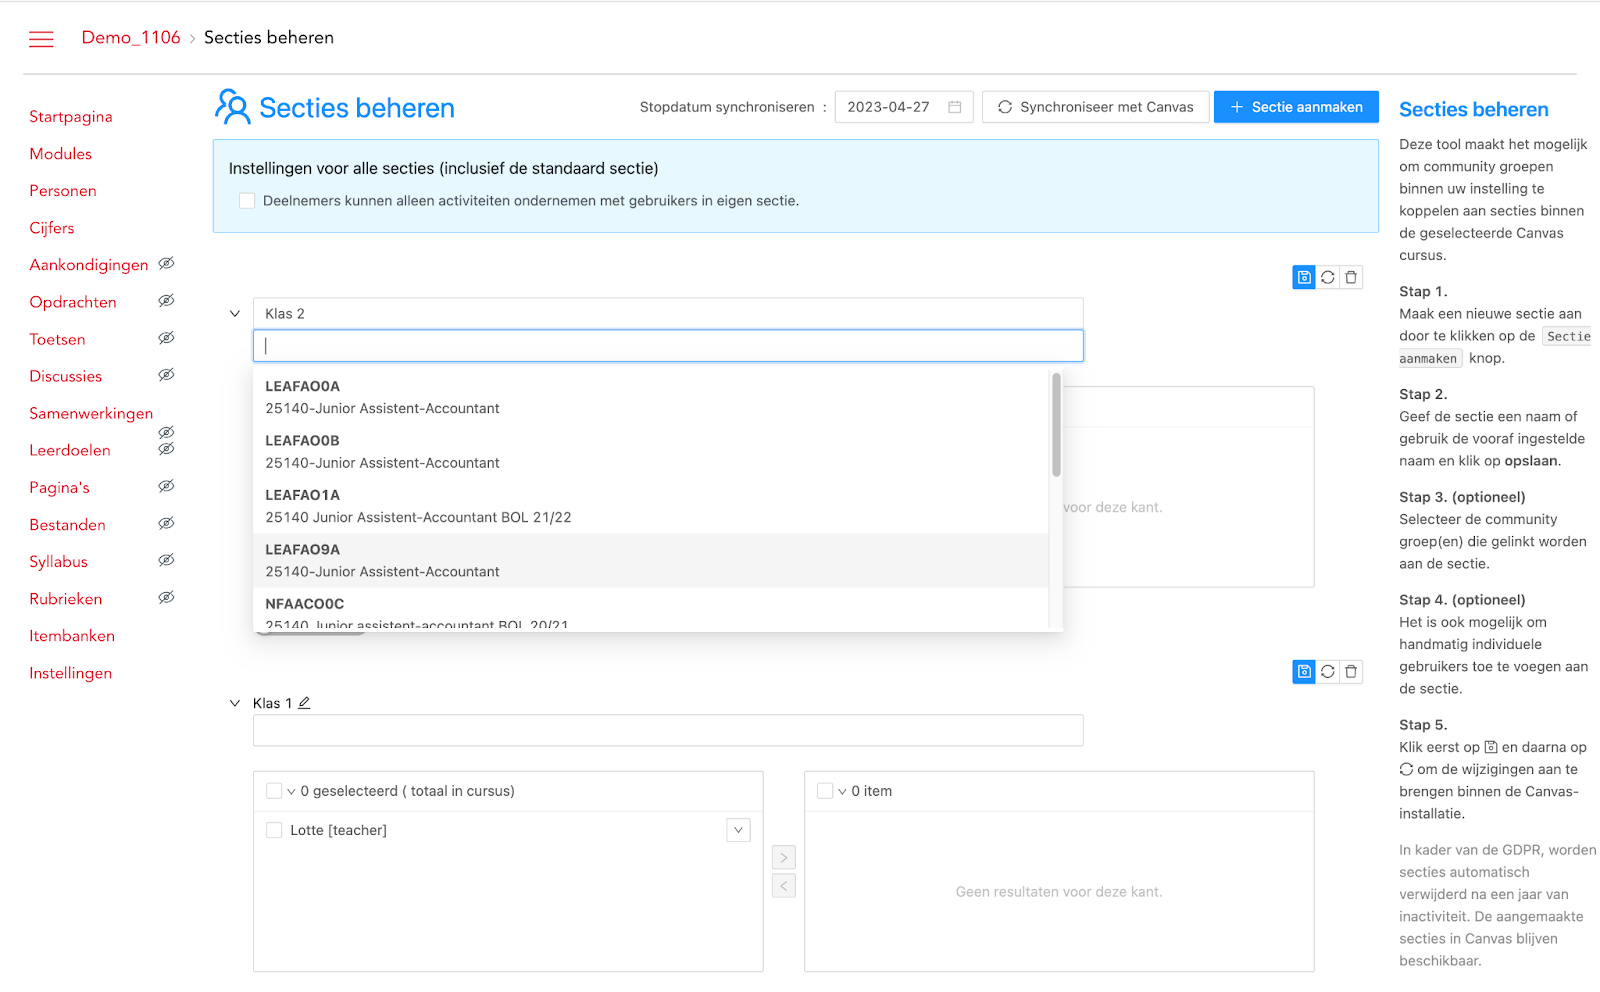
The groups are synchronised with Canvas every two hours; when you create a new group in Canvas, it may take up to two hours for it to appear in the drop-down menu. At the top of the screen, you can see when the groups were last synchronised.

What does automatic course synchronisation involve?
The automatic course synchronisation feature allows courses to be synchronised automatically up to a specific end date. Until this end date, SectionLTI is updated daily to ensure that all groups and individuals are assigned to the correct sections.
What happens once the set date has been reached?
Once the set date has been reached, the daily synchronisation will no longer take place. This means that if groups within Canvas are modified, deleted or added after the set date, they will no longer be updated within SectionLTI. Only if the teacher, instructor or administrator extends the date or manually clicks the synchronisation button will the data be updated again within SectionLTI. The advantage of this is that, up to and including the set date, the administrator, instructor or teacher no longer needs to click the synchronisation button every day to ensure the update is sent correctly to SectionLTI.
How does automatic course synchronisation work?
At the top of the SectionLTI settings (top bar), there is an option to enter a date. You can select this by clicking ‘Select date’, which will automatically open a calendar. As soon as you click on a date, you will receive confirmation that the date has been saved and will be synchronised. After this date, it is still possible to synchronise manually with Canvas using the ‘Synchronise with Canvas’ button.

Important information
The option to separate sections (restricting users to viewing only fellow users within a section) also applies to tutors! If you wish to use this option, it is important that the tutor(s) are also assigned to every section they need access to.
Users can always be members of more than one section.
Please note: Always save first before synchronising the section with Canvas!
Users with a ‘role based on the student and lecturer roles’ are displayed; they must also have an SIS ID.